Every website on the internet today needs to be secure, whether it's a blog, an online store, a company page, or a portfolio. One of the most basic and important ways to secure your website is by installing an SSL certificate. If your website is hosted with Hostinger, the process of getting and installing an SSL certificate is straightforward, and most importantly, it can be done for free.
In this blog post, you will learn what SSL is, why you need it, how it works, and how you can install an SSL certificate on your website using Hostinger. This guide is written for beginners, so you do not need any technical experience to follow along. You just need access to your Hostinger account and your domain name.
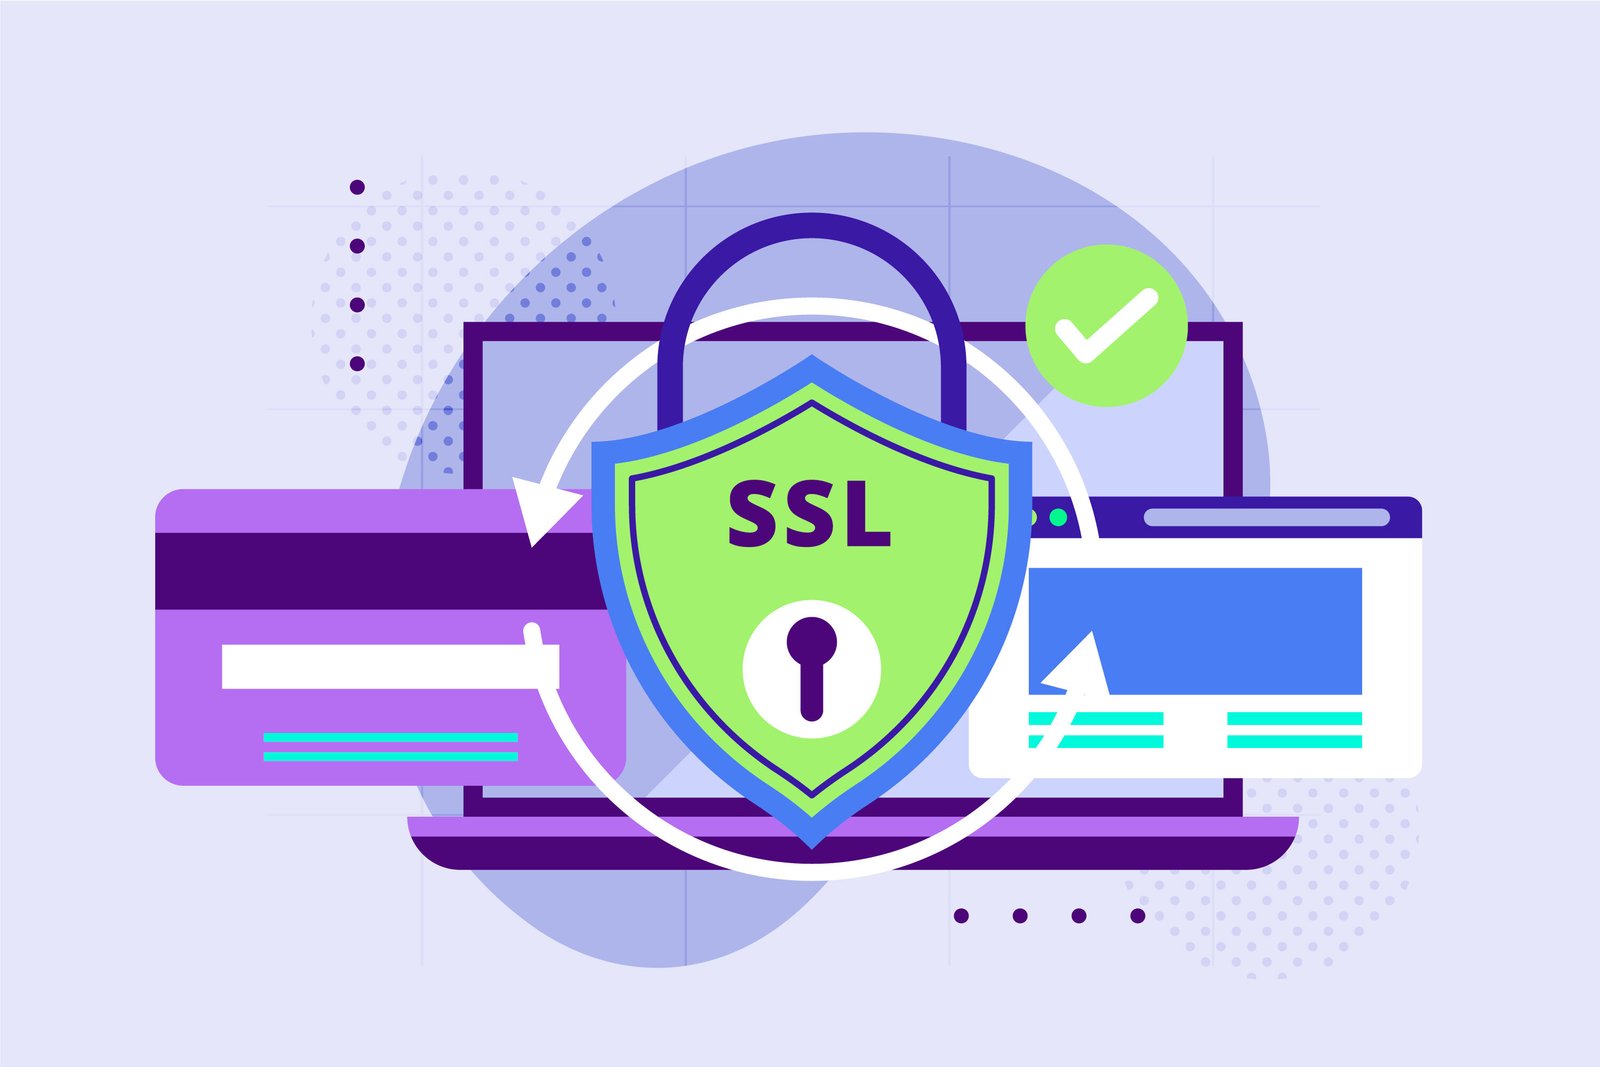
What is SSL and Why is It Important?
SSL stands for Secure Sockets Layer. It is a digital security technology that creates a secure connection between a web server (where your website is hosted) and a web browser (like Chrome or Firefox). When someone visits your site and it has an SSL certificate installed, their connection is encrypted. That means no one else can see what information is being sent or received.
This is especially important if your website collects any kind of personal data from users. For example, login details, email addresses, or payment information. Without SSL, all of that data is sent in plain text and can be intercepted by attackers. SSL makes sure that only the person who is supposed to receive the data can see it.
Besides security, SSL also impacts trust and SEO. When your site has SSL, the browser shows a padlock symbol and the address of your site begins with "https" instead of just "http". Visitors feel safer when they see this. Also, search engines like Google favor secure websites. That means installing SSL can help your site rank better in search results.
Does Hostinger Provide Free SSL?
Yes, Hostinger provides free SSL certificates with most of its hosting plans. If you have purchased a shared hosting, WordPress hosting, or cloud hosting plan from Hostinger, you will likely have a free SSL option already included. If you are not sure, you can check your account dashboard or contact Hostinger support.
Even if your hosting plan does not include free SSL, Hostinger allows you to manually install an SSL certificate obtained from services like Let’s Encrypt. But for most users, the built-in SSL service is more than enough.
How to Check if Your Website Has SSL Already
Before installing a new SSL certificate, you should check if your site already has one. The easiest way to do this is by visiting your domain in a browser. If the address starts with “https://” and the browser shows a secure padlock, then you are already using SSL. If it says “Not Secure” or the address only shows “http://”, then SSL is not installed or not active.
You can also use tools like SSL Checker (sslshopper.com or whynopadlock.com) to scan your site and confirm the status of your SSL certificate.
Installing SSL Certificate on Hostinger
If you have confirmed that SSL is not yet active on your website, you can go ahead and install it using the Hostinger control panel, also known as hPanel. You need to log into your Hostinger account and access the hosting management section for the website you want to secure.
In your hPanel dashboard, look for the SSL section. Hostinger usually places it under the "Advanced" or "Security" section, but you can also use the search bar to find it faster.
Once you are in the SSL area, you will see your domain listed. If SSL is not active, there should be an "Install SSL" or "Activate" button next to the domain name. Clicking this button will begin the installation process.
Hostinger handles the technical side of SSL installation automatically. You do not need to generate a Certificate Signing Request (CSR), upload certificate files, or make any server changes manually. Everything is done for you once you click the activation button.
The SSL activation process usually takes a few minutes. After that, your site should be accessible using "https" and you can test it to confirm it’s working.
How to Force HTTPS on Your Website
Even after installing SSL, your website may still load using "http" unless you force it to always use "https". This is a common issue that can confuse visitors and reduce the benefits of having SSL.
Hostinger provides a simple setting to fix this. In the same dashboard where you activated SSL, you should find an option called "Force HTTPS" or “HTTPS Redirect.” Enabling this setting ensures that anyone who visits your website using "http" will be automatically redirected to the secure "https" version.
This feature is important because it makes sure that every page of your website benefits from encryption. Without this redirect, some pages may load insecurely, which can lead to browser warnings or SEO penalties.
What to Do If You Don’t See the SSL Option
In some cases, especially with older or cheaper hosting plans, you may not see the SSL option in your hPanel. If that happens, the first thing you should do is contact Hostinger support. They are available 24/7 and can check if SSL is available for your plan or help you upgrade to a plan that includes it.
Another option is to get a free SSL certificate from a third-party provider like Let’s Encrypt and install it manually. This process is more technical and involves generating certificate files, uploading them to your server, and configuring your web server settings. For beginners, it’s better to use the free SSL option included in Hostinger if available.
Additional Things to Check After SSL Installation
After you install and activate SSL, it’s a good idea to test your entire website to make sure everything works properly. Here are a few things you can check:
Visit your website in different browsers to confirm the secure padlock appears
Try visiting both http://yourdomain.com and https://yourdomain.com to make sure it redirects correctly
Look through your website pages to check that all content is being loaded over HTTPS
Use online tools like Why No Padlock or SSL Labs to run deeper tests
If any content on your site is still loading over HTTP (for example, images or scripts), your browser may show a warning like "Mixed Content." You should update those resources to use HTTPS as well.
Final Words
Securing your website with an SSL certificate is one of the first and most important steps you should take after launching your website. It protects your visitors' data, improves your site’s reputation, and helps you gain better visibility on search engines.
If you are using Hostinger as your hosting provider, the process is very simple and user-friendly. You can activate SSL with just a few clicks through the Hostinger control panel. There is no need for technical knowledge or extra tools.
Always make sure you also enable HTTPS redirection so that all your traffic is protected. Once your SSL certificate is live and working, your site will be safer, faster, and more trustworthy to every visitor.
If you are planning to start an online business or collect any kind of user data, having a secure connection is not optional anymore—it is required. And with hosting providers like Hostinger making it easier than ever, there is no reason not to do it today.
By following this guide, you now know what SSL is, why it matters, and how to install it quickly and easily using Hostinger. Make sure you keep your website safe and professional, starting with a strong foundation of security through SSL.
- 0 comments
- 577 views
-